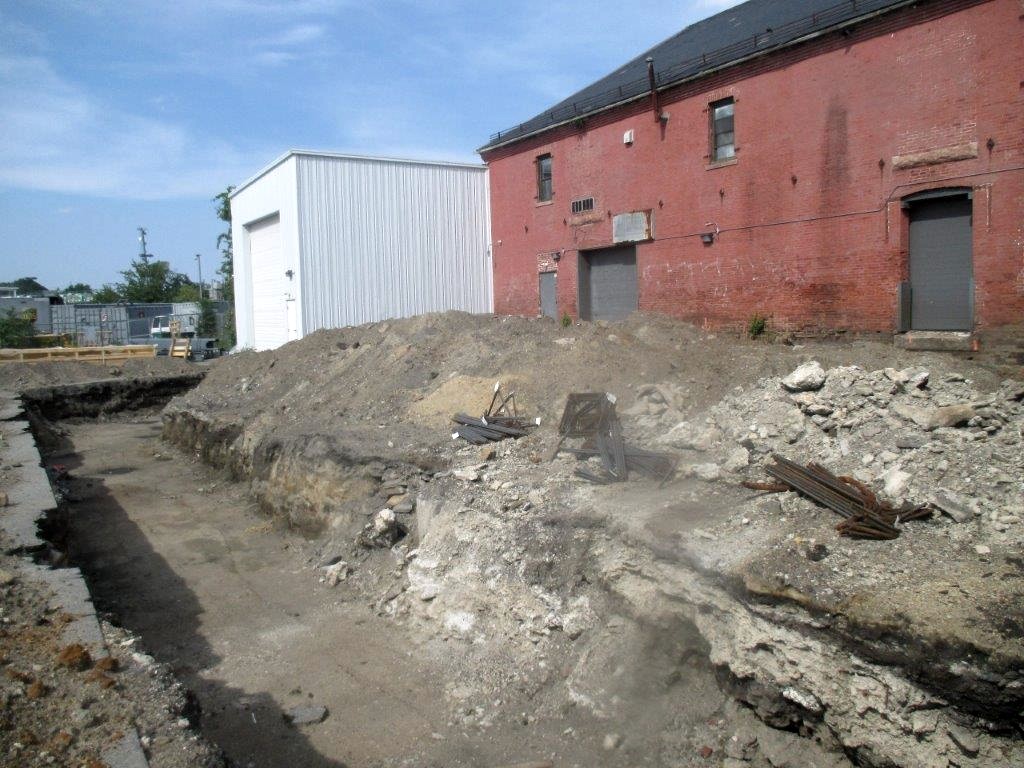
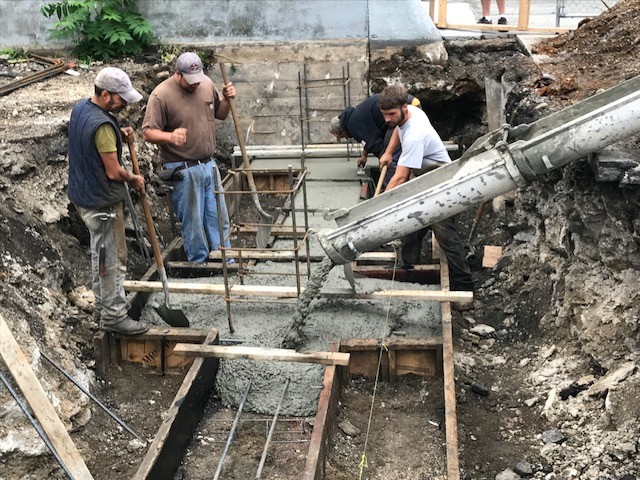
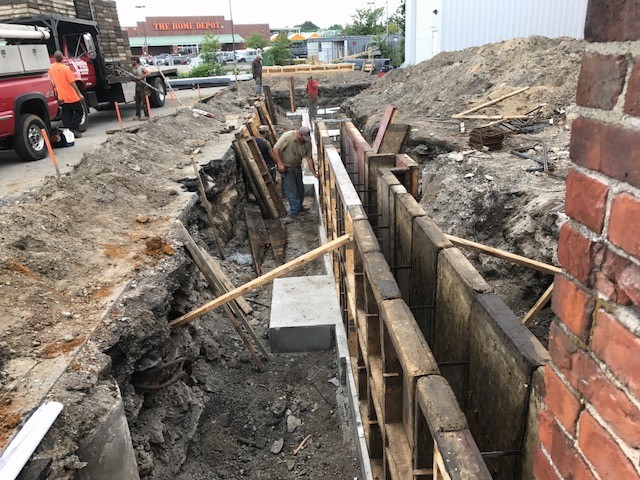
Exposed trench where footing and foundation will be poured.
1 / 85
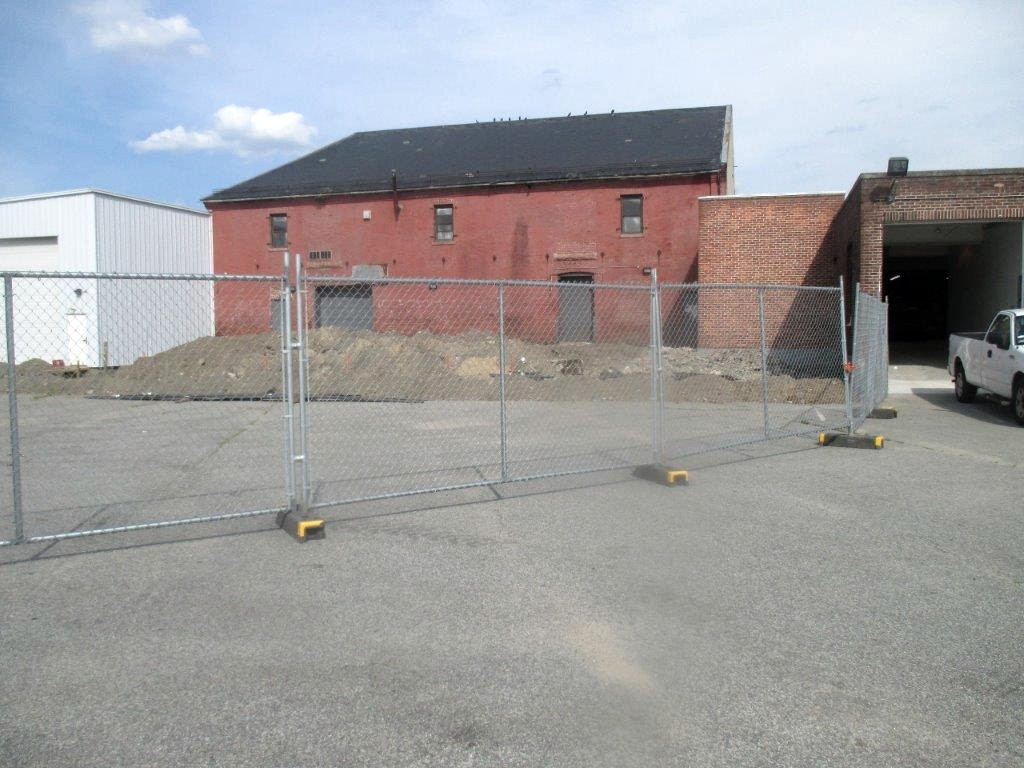
Showroom will be 92 feet wide and 52 feet deep. Note new entrance to existing shop on the right.
2 / 85
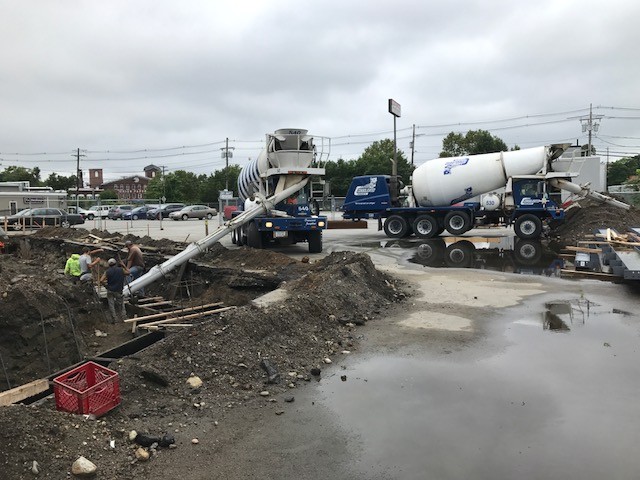
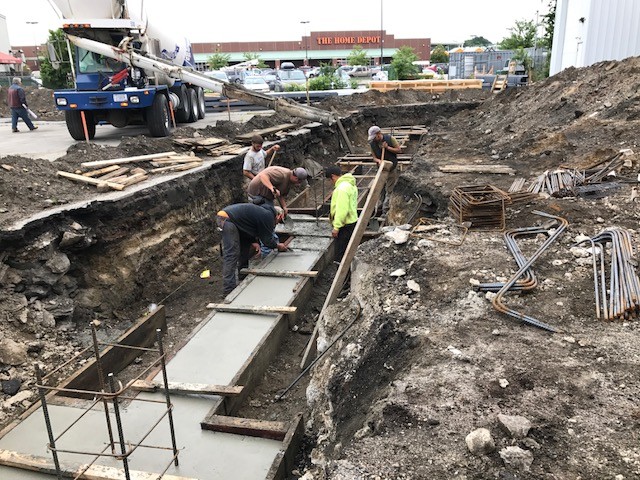
The first stage of the "footing" for the foundation is in progress.
3 / 85
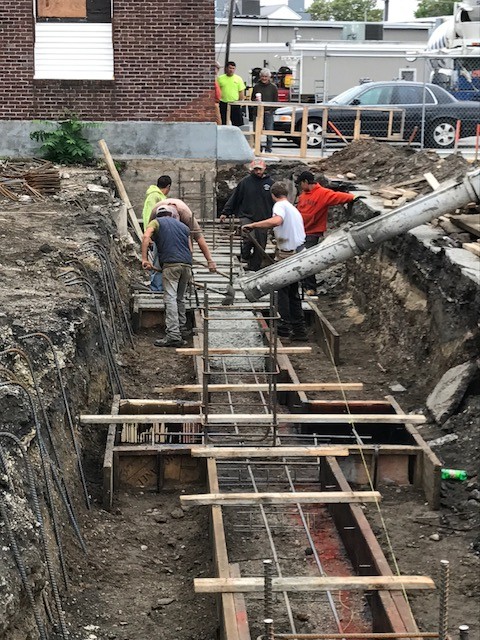
Steel "rebar" is placed strategically into the cement for strength.
4 / 85
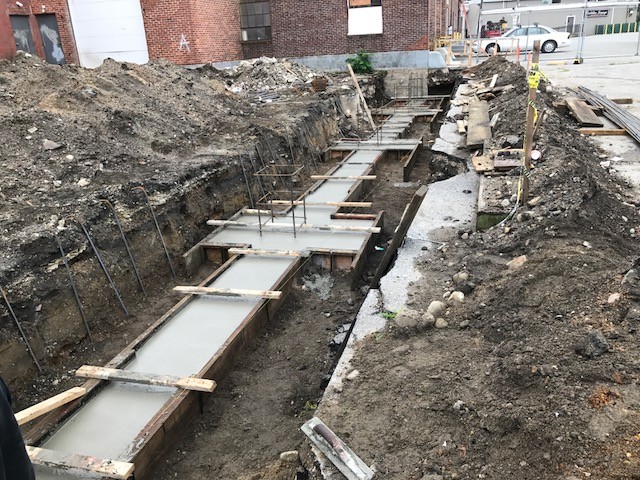
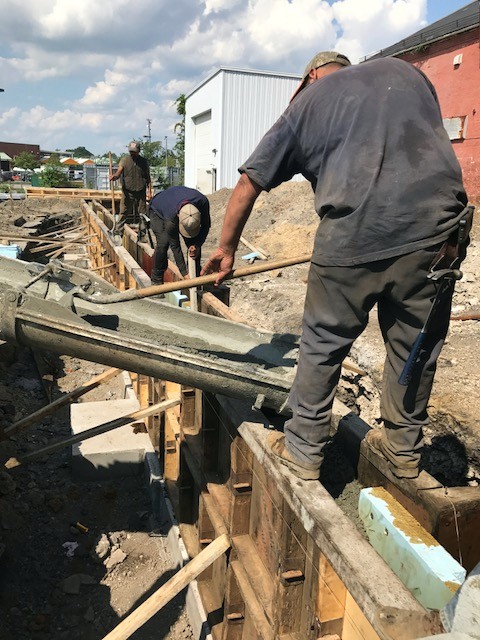
Cement is poured to the required depth.
5 / 85
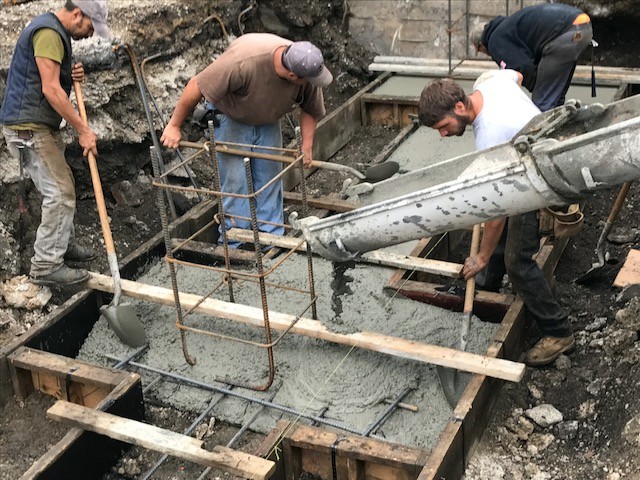
Cement is poured to the required depth.
6 / 85
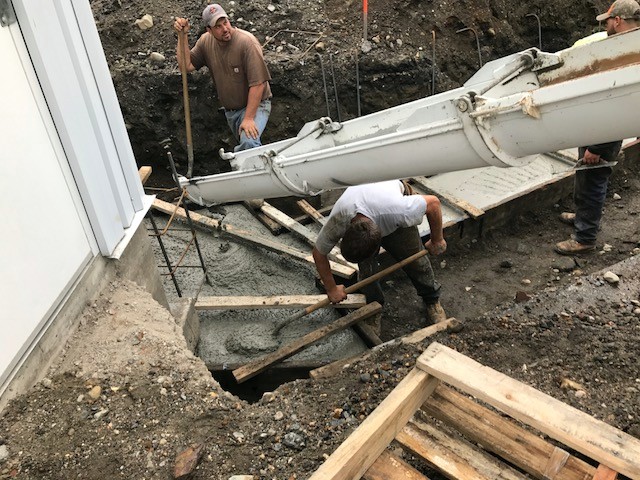
Every corner and crevice needs to be filled.
7 / 85
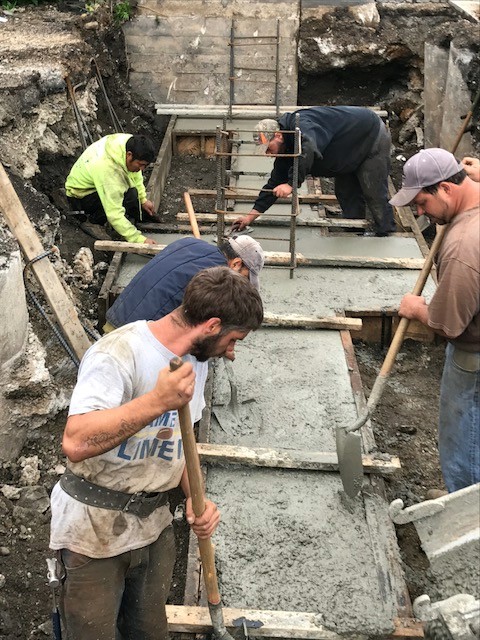
Coarse grading (in the foreground) is followed by manual troweling.
8 / 85
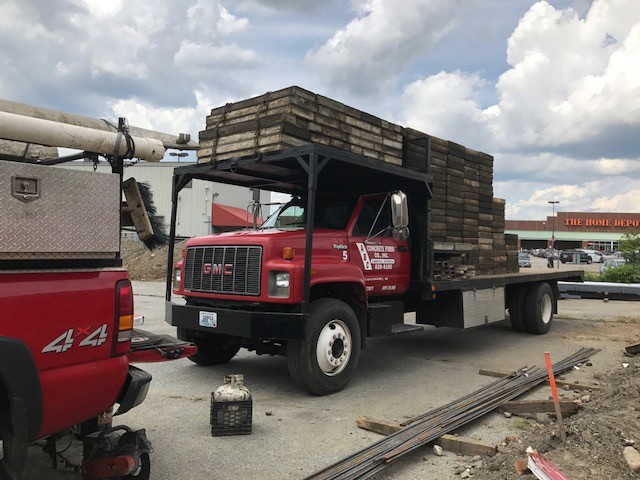
Thousands of pounds of steel "rebar" are needed.
9 / 85

Foundation almost done.
10 / 85
Now, let it "set".
11 / 85
Prefabricated wooden forms arrive.
12 / 85
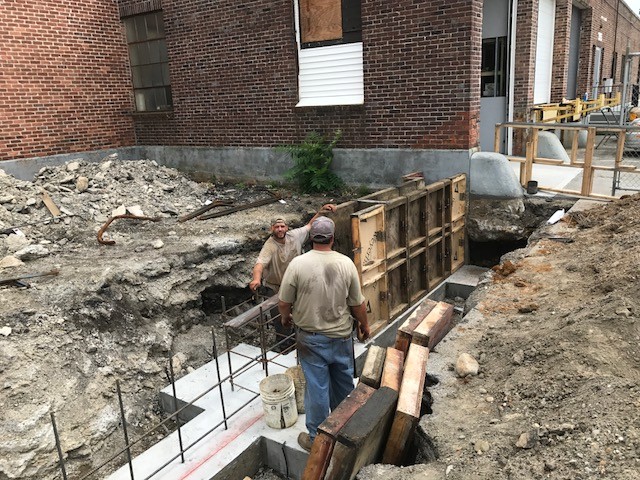
Erect the forms.
13 / 85
Four-foot vertical forms in place on top of footing for foundation wall.
14 / 85

Forms securely braced to withstand pressure from tons of wet cement.
15 / 85

We are ready for the cement pour.
16 / 85
Cement pour begins on the upright wall.
17 / 85

Troweling must be done simultaneously with the pour.
18 / 85
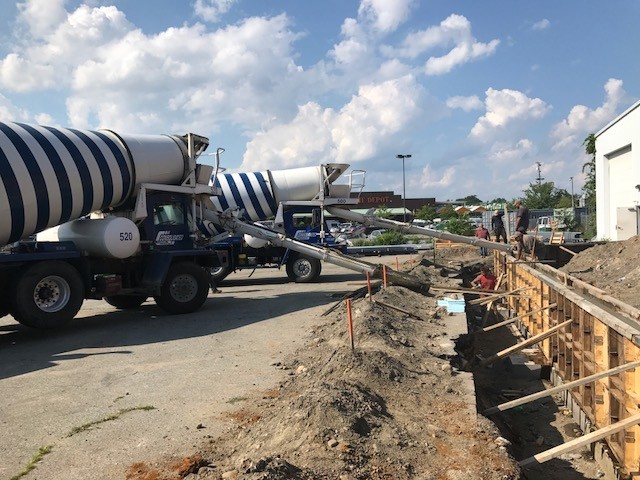
The second truck arrives with another eleven cubic yards of cement.
19 / 85

The upright forms are removed exposing the finished wall.
20 / 85